Rhinestone Shirt
I'm sort of addicted to rhinestones these days. I don't know why but a little sparkle makes me happy! My mother has a fancy digital cutter so I called her one day to ask for her help with a rhinestone project. While she was working away on that project (which you will see coming up in a future blog. You won't want to miss it!) I decided to go the old fashioned way...by hand!!
I made this cute shirt for my girl to wear on St. Patrick's Day. We don't want anyone getting pinched ya know!

You only need a few supplies. I ordered all of mine on the web and there are several sites to choose from. You will need:
- Heat transfer sheets
- Hotfix rhinestones
- Tweezers
- Iron
- Pattern

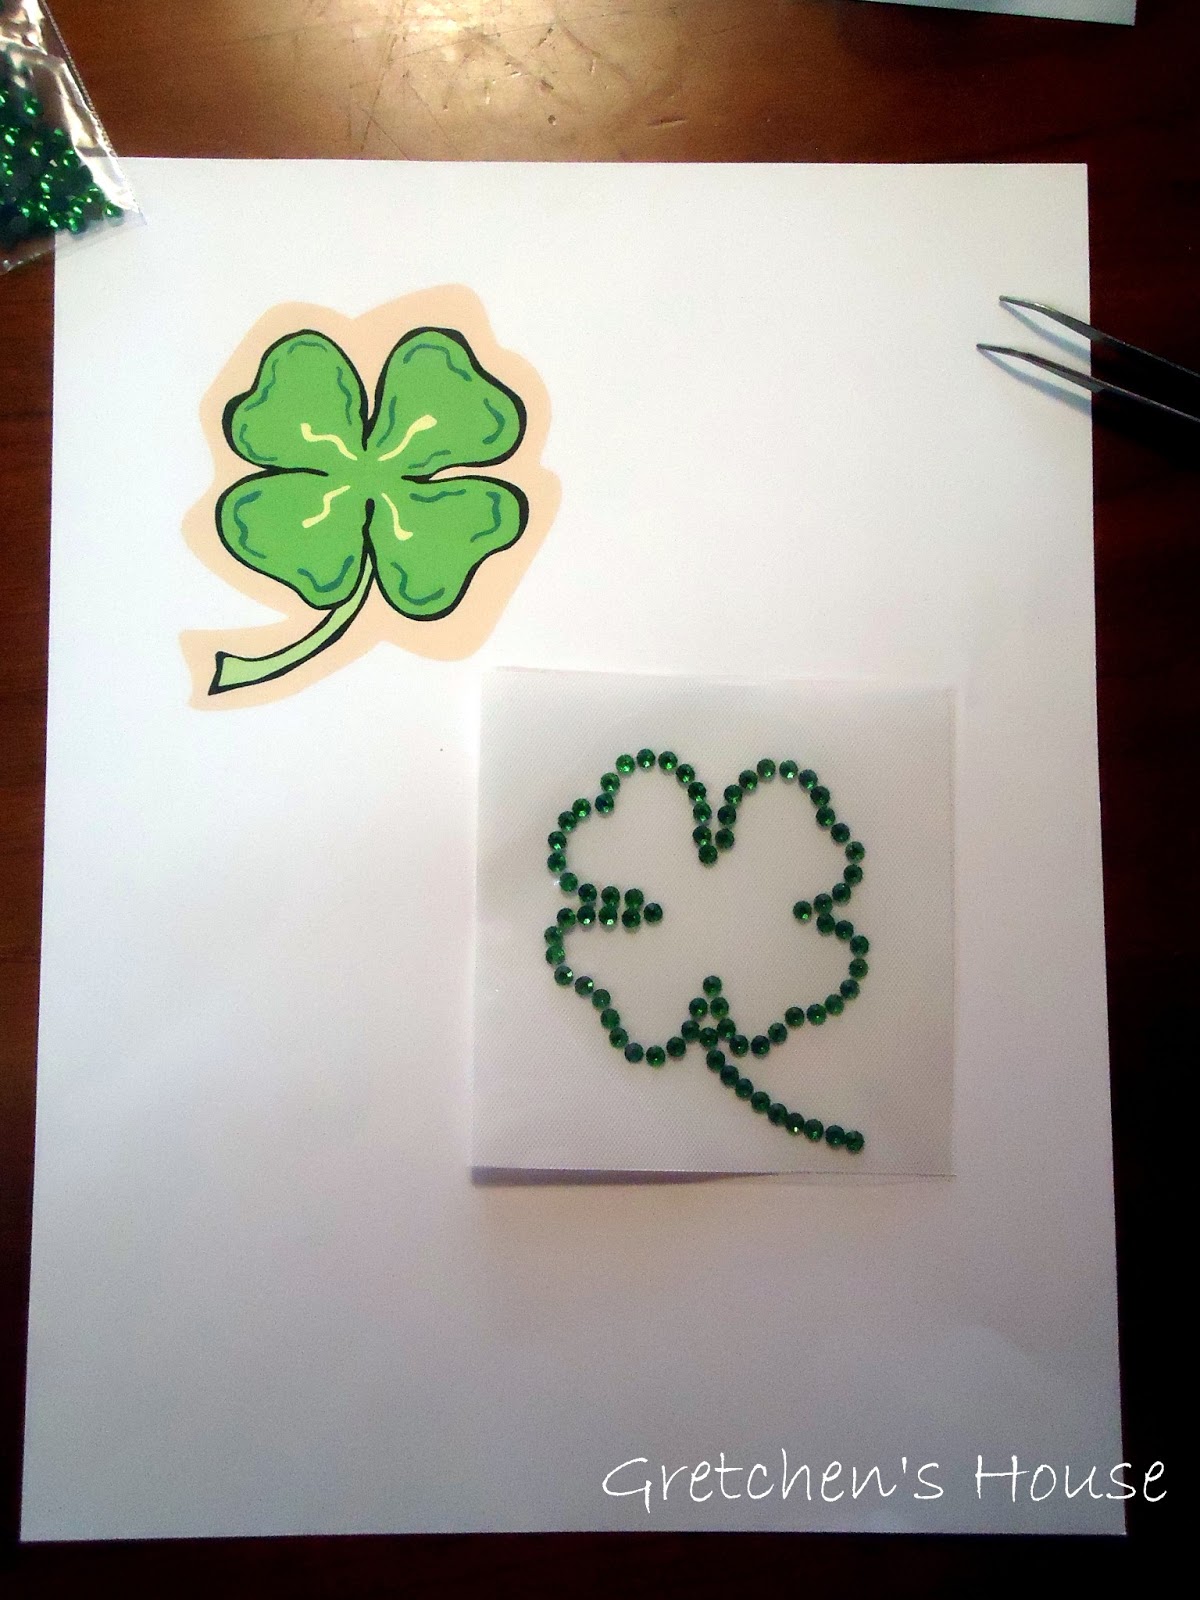
The pattern I used was just a clip art I got from my computer. You could really use anything. Something simple is best because you will be placing all the rhinestones one by one!
The first step is to place your heat transfer tape upside down over your pattern. That would be the sticky side up! I used a little piece of tape just to hold it in place.

Now's the fun part. Begin placing your rhinestones along the pattern upside down. That's right, glue side up. I used the tweezers from my serger and they worked great.

After placing two or three stones I would push down on the stones with my finger to make sure it stuck well. When all the stones are placed flip your heat transfer tape over and place it on the backing it come on.
It should look something like this:
You are now ready to iron. Heat your iron following the instructions on the rhinestone package. Peel the backing off the transfer tape and place your transfer tape on your shirt.

Place a cloth between your iron and the transfer tape. Iron according to the package instructions.

Let it cool completely then peel off the heat transfer tape.

Turn the shirt inside out and iron again to make sure you have activated all of the glue on the back of the rhinestones.
And you're done!! Now how easy was that? There are so many possibilities with this and you don't have to have a fancy machine to do it!!

Looks good on Cora Mama!
ReplyDelete